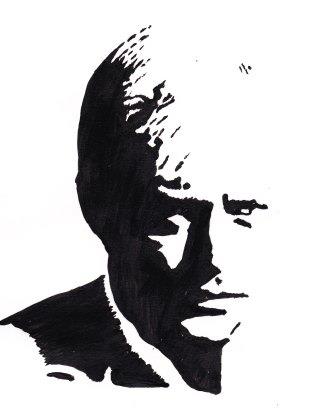
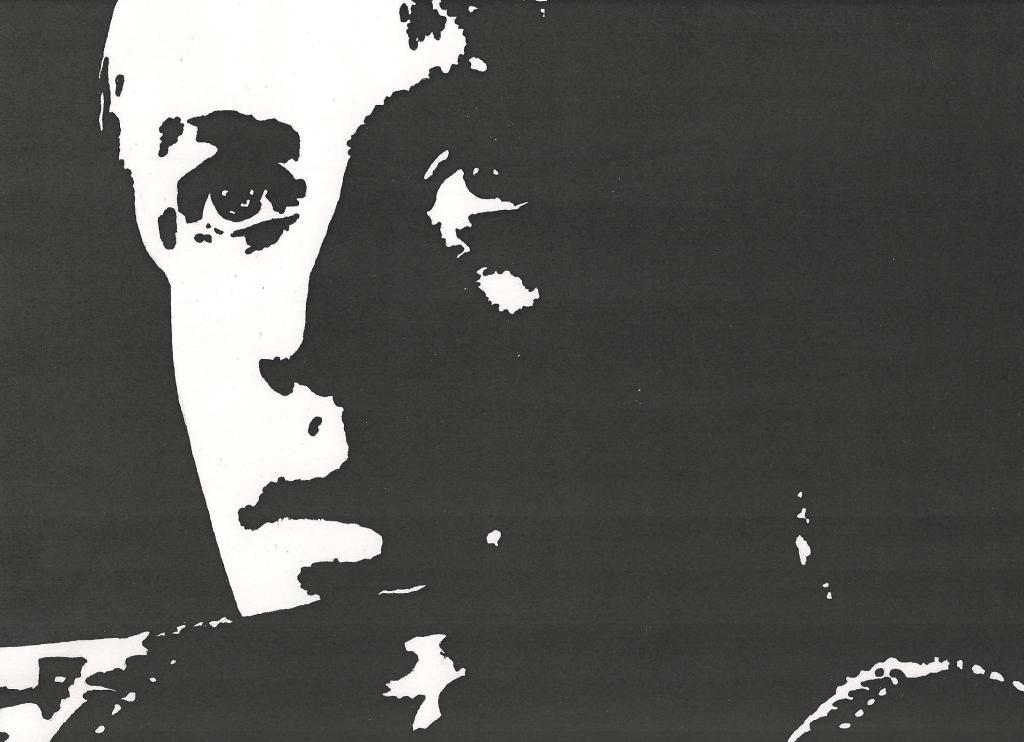
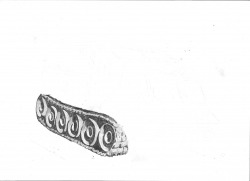
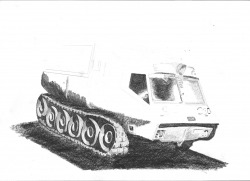
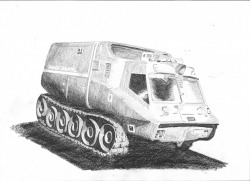
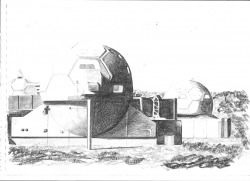
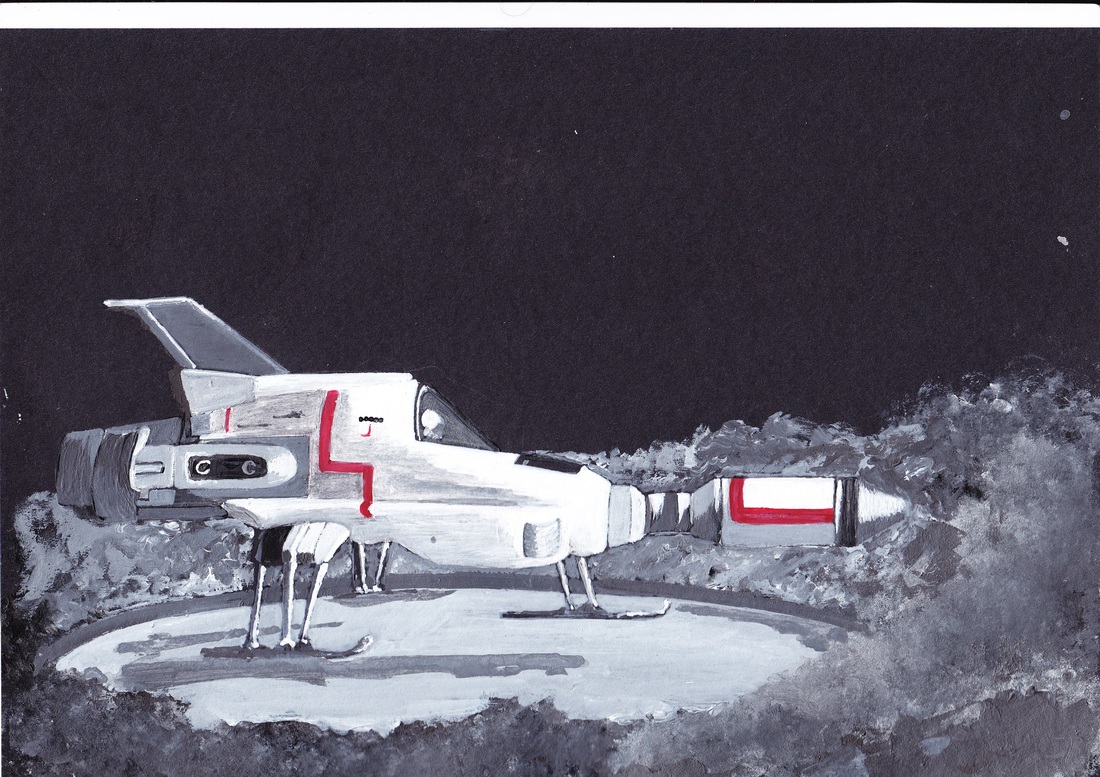
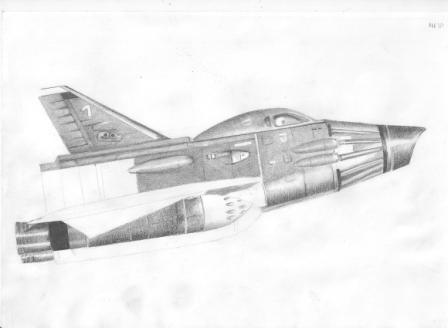
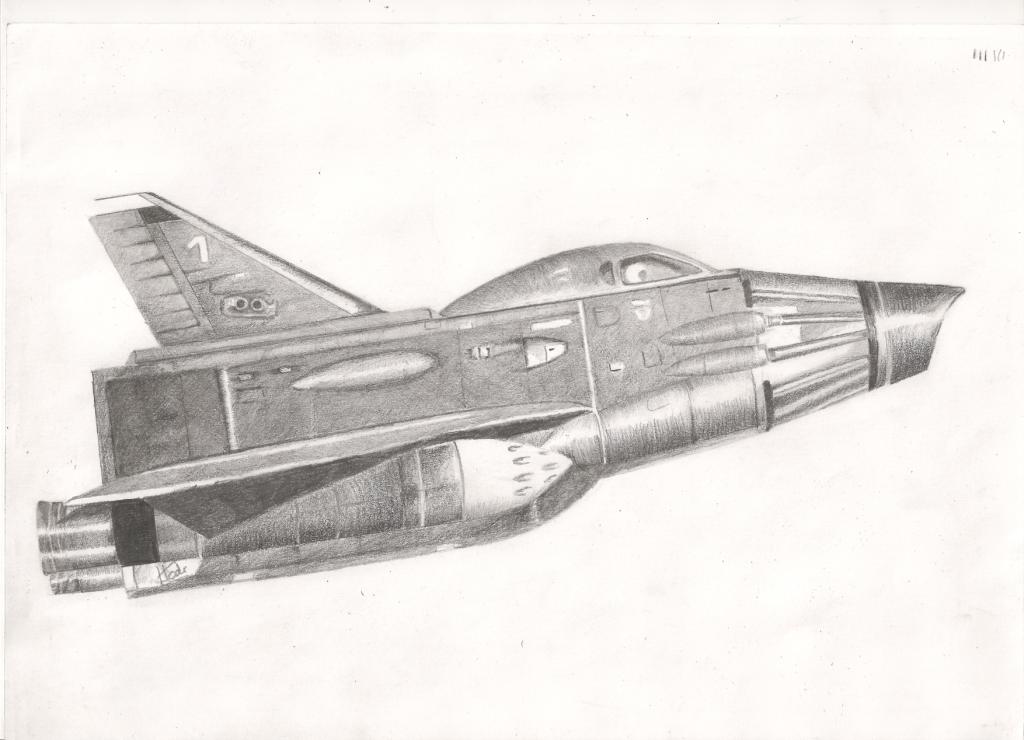
Forgot all about this picture. One I did a long time ago and somehow it never got put in my folder, and seems to have disappeared from my sites. I’m in the process of using it for a banner so thought I would stick it up here, just so I don’t forget it again.. I did this a long time ago and still love the stern look.

Acrylic on paper. A4 size.

 . 399827_3285814461374_81802992_n

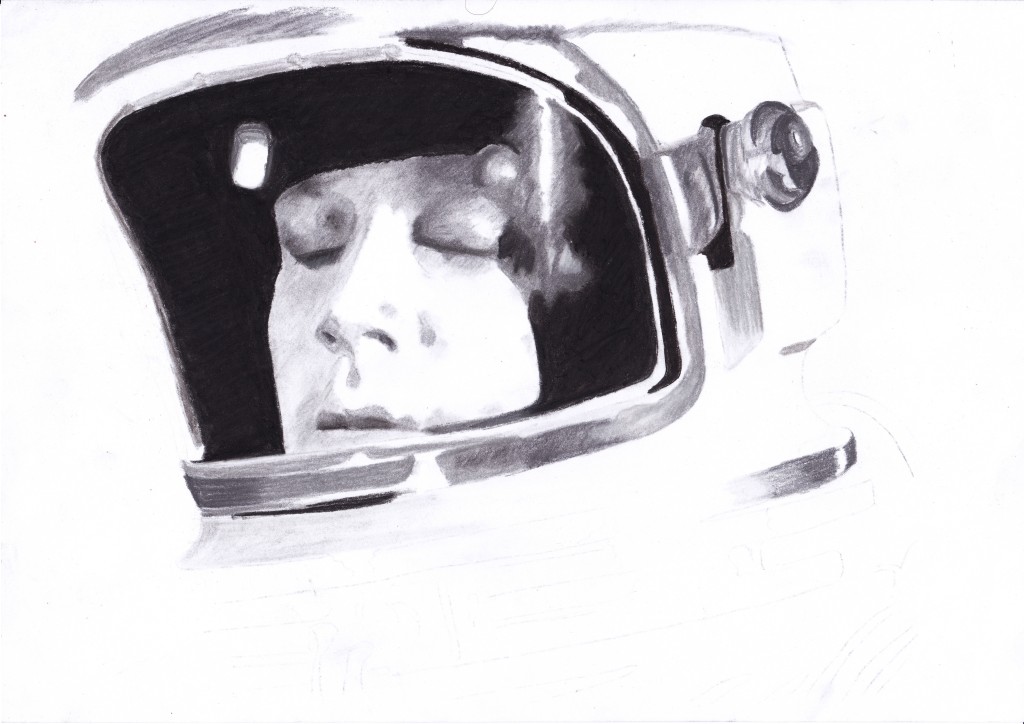
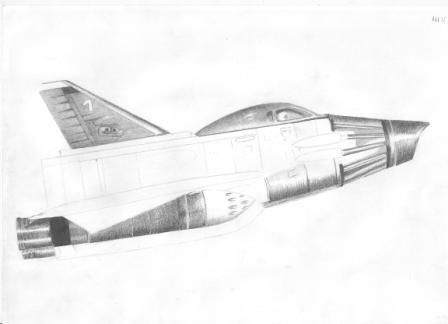
Art: Moonbase in pencil

My first Moonbase pictures.

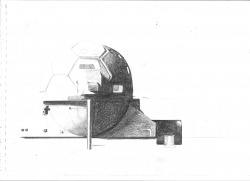
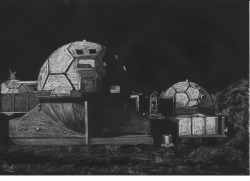
1. I was really pleased with this, as I expected it to be much harder to get the shading to look reasonable. When I had finished the actual drawing I was then faced with the problem of how to put in a black background. I tried using black graphitint pencil and then a wash over it, but it didn’t work out as well as I had hoped. I have put up the different stages of the work as it progressed; I am most pleased with the finished drawing that hasn’t had the background done! Oh well, back to the drawing board!

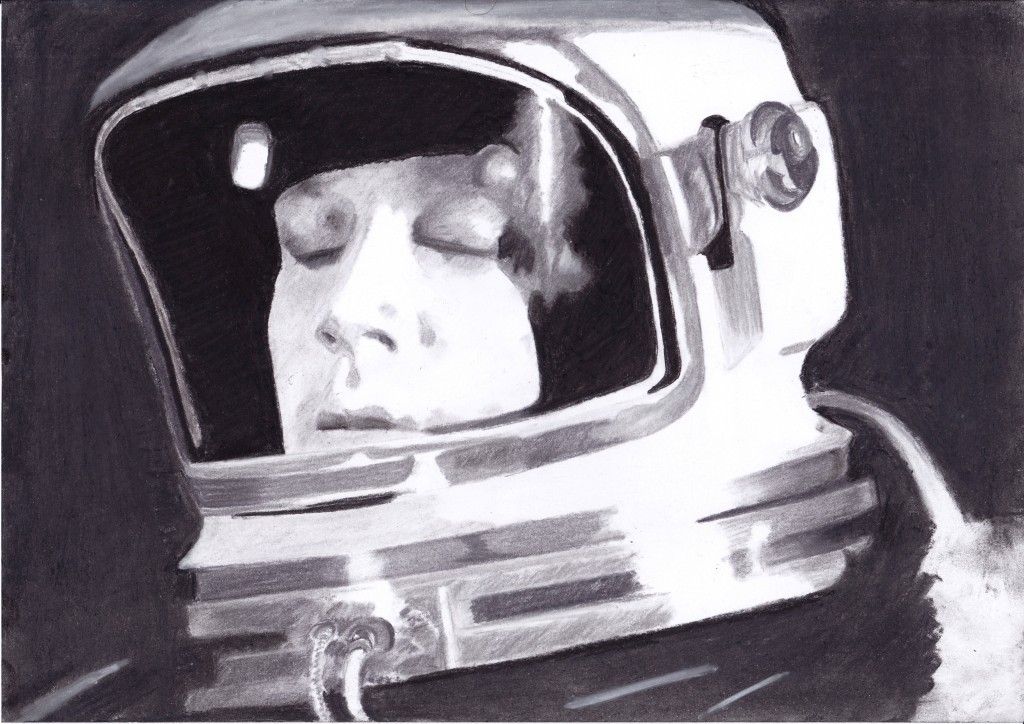
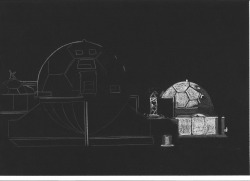
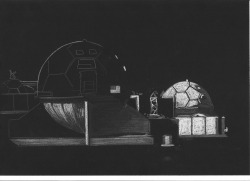
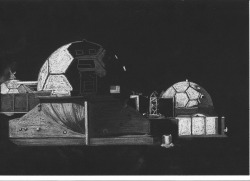
I then decided to try doing Moonbase in pastels on black:

Although I really enjoyed doing Moonbase in pencil and pastels, i think the acrylic version is preferable!

Art: Interceptor

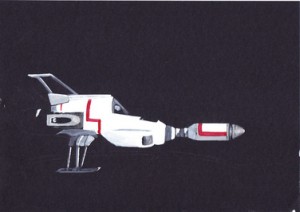
Well, I had the paints at work, so I thought I would continue with the Moonbase theme. This was much harder to do, because I didnt have a good picture of an Interceptor from which to work. I took a scan of the picture when I had been working on it for a few hours, and then the finished picture. It’s not one that I think I will keep though, as the moonscape is not very good, and the ‘engine’ section of the Interceptor is too vague and unformed.

This is the finished piece.

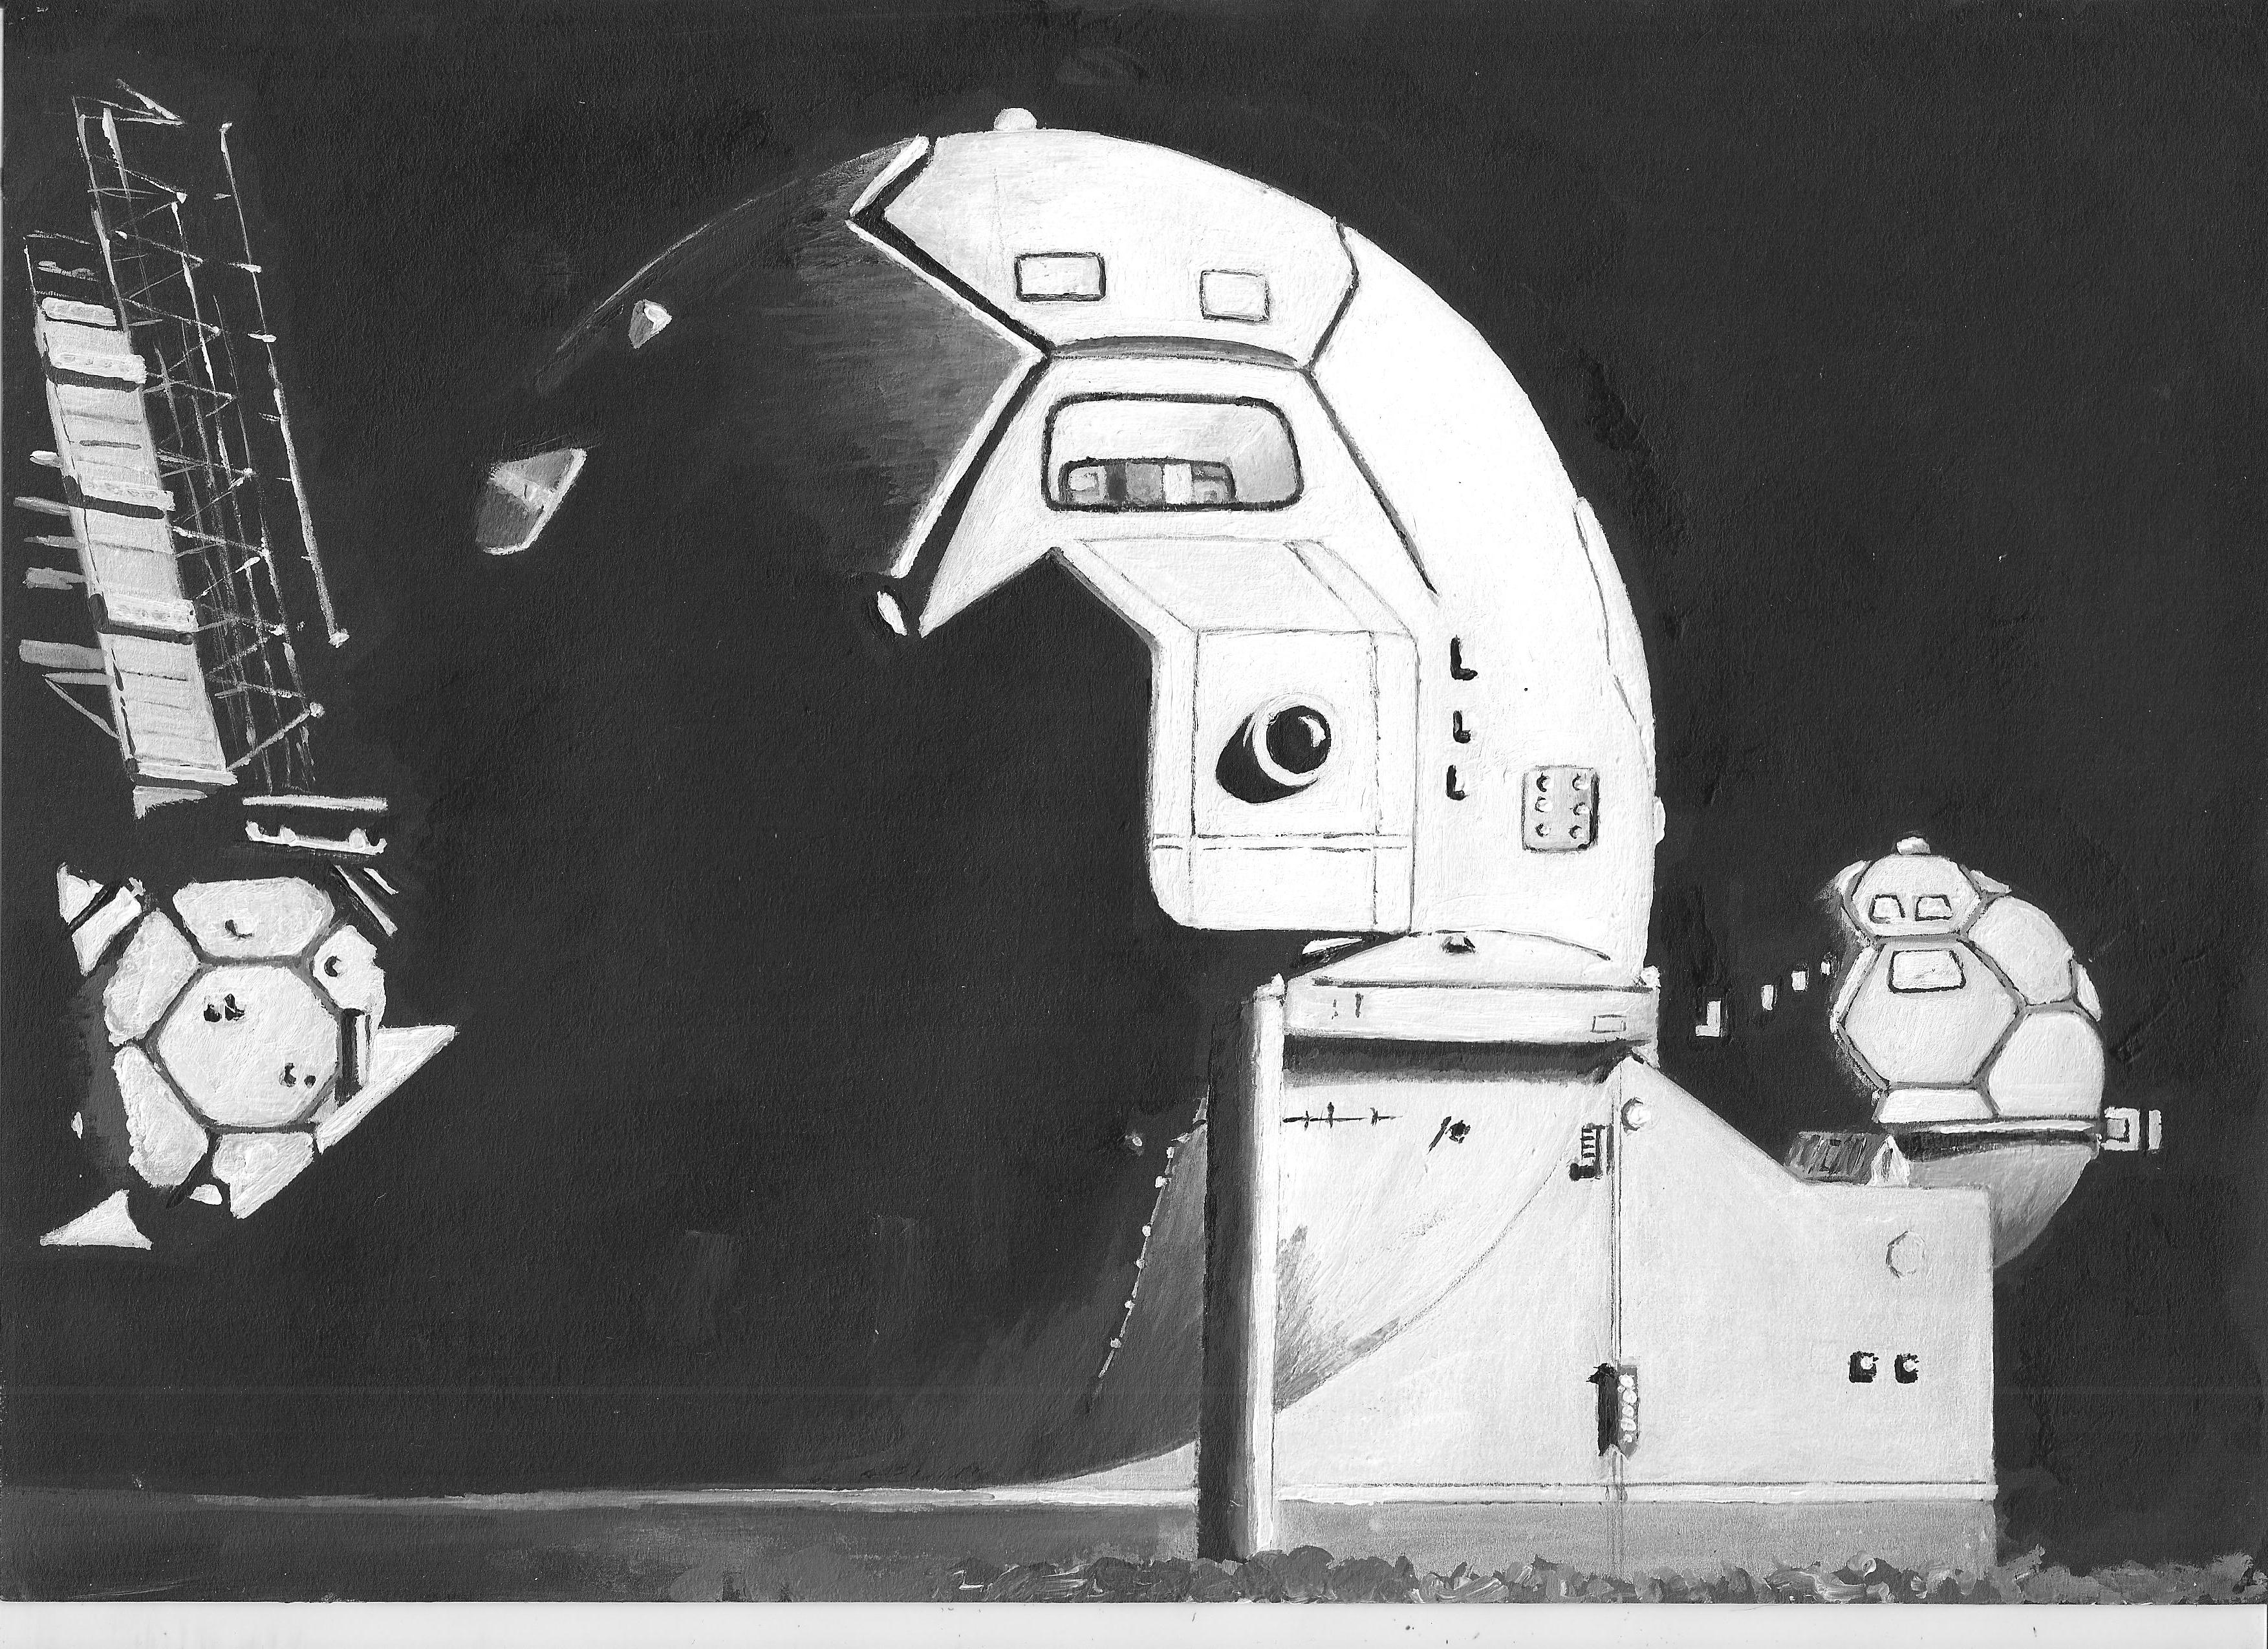
Art: Moonbase in acrylics

I do a considerable amount of art work with the different pupils that I teach and I like to work on something at the same time as they are drawing or whatever (it makes the atmosphere in my classroom much more relaxed). For the last few weeks I have been working on a picture of Moonbase. I like the geometry of Moonbase and the contrasts between light and shade. Initially I started this picture in pastels and chalks, but I decided to go over what I had done in acrylics.
In retrospect I should probably have started again, but I was only ‘playing around’ with the idea. However, after several hours work, and at least a dozen layers of paint I thought it was worth carrying on. It’s not perfect, not by a long way, but I was working in a small space, with cheap brushes and paints and frequent distractions.
Here is the finished result.

Art: Shuttle from ‘Kill Straker!’

I started this to show a pupil how I used chalks and pastels in my drawings.
I think that I should have done it on a smoother piece of black paper instead of A4 black card, which has a rough texture and therefore doesn’t ‘hold’ the chalk as well as I would have liked. But, as with all my ‘drawings’ I do them for fun and my own pleasure. If you like them as well, that is fine, but they are very rough!
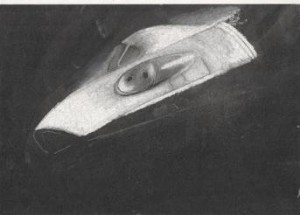

I had to build up several layers of chalks etc to get the depth of colour but having got to this point I thought it was worth continuing with it.


I trimmed the picture and double mounted it because I wanted the ‘whiteness’ of the heat of ‘re-entry’ to stand out, and the white frame helps to do that. I might try the same picture using coloured pastels which would be a very different challenge.
LtCdr
And below…… the final result.
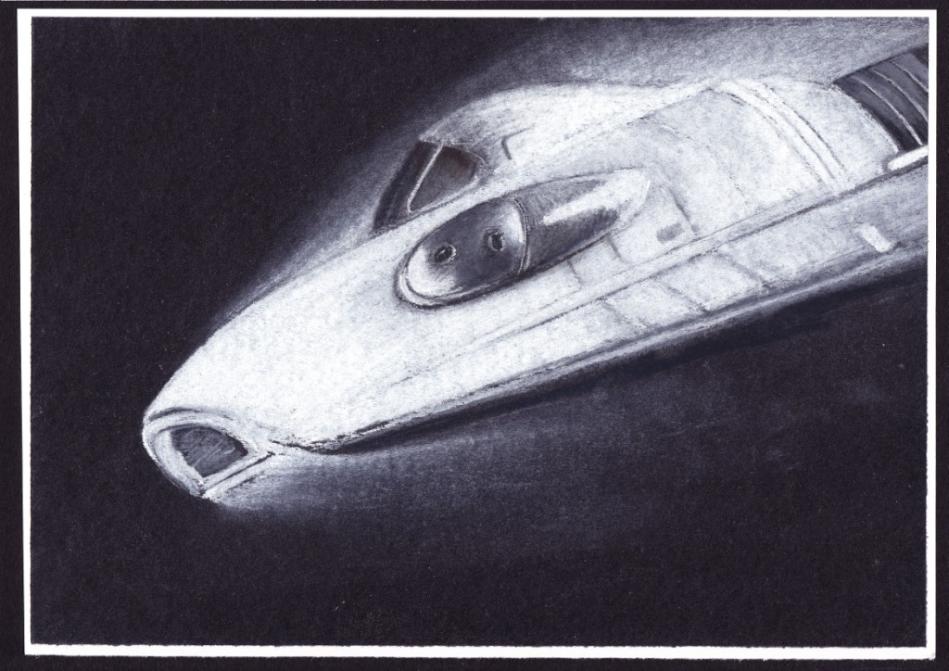
Media used:
Conte chalks (white and shades of grey)
Faber-Castell Pitt Pastels
Compressed Chalks
assorted ‘stumps’ for blending
(And lots of putty rubbers!)
Smart-Price hair spray!! ( cheapest fixative for chalks and pastels!)